
We have covered the custom product sliders with the Hyvä slider view modal in our previous Hyvä blog. Meanwhile, the Hyvä Slider View Modal offers a solid foundation for creating sliders. Yet, it cannot help when aiming for specific functionalities, such as an infinite loop and auto slide, without relying on third-party JavaScript libraries. Our Magento experts have tried multiple solutions available on the web, but none defines the exact solution. This article aims to guide developers and store owners through customizing the Hyvä slider to incorporate an infinite auto-slide feature without needing external dependencies.
Table of Contents
Introduction
Let's commit that in online businesses, visual appeal and user engagement play pivotal roles in capturing the attention of potential customers. Sliders, or carousels, serve as effective tools to showcase featured products, promotions, and captivating imagery. A well-designed slider enhances the aesthetic appeal of an e-commerce website and contributes to a seamless and interactive user experience.
Hyvä is a modern and feature-rich Magento 2 theme that focuses on delivering a superior user experience. With its clean and responsive design, Hyvä offers a plethora of customizable elements to tailor the appearance and functionality of an online store. Among its many features is the Hyvä Slider View Modal, which provides a default slider for presenting content visually appealingly. But There's no custom solution for the infinite loop, and that too without using any third-party JS libraries! So here, in this article, we will cover the solution for creating a custom slider with infinite auto slide.
Understanding Hyvä Slider View Modal
A. Overview of Hyvä Slider View Modal
The Hyvä Slider View Modal is an integral component of the Hyvä theme, designed to present images and content in a visually appealing slideshow format. By default, it provides a user-friendly interface for managing slides containing unique information or products. However, certain advanced features, such as infinite looping and auto slide, may require custom modifications to meet specific requirements.
B. Features of Default Hyvä Slider
While the default Hyvä Slider View Modal is a robust solution for creating visually striking sliders, it may need additional efforts for certain functionalities out of the box based on the business needs. For example, infinite scrolling allows the slider to loop through items seamlessly, and auto slide, which automatically transitions between slides, is a commonly sought-after feature. This article will explore the steps to implement custom logic to enhance the default Hyvä slider's capabilities.
Setting up the Environment
A. Ensure the Hyvä Theme is Installed and Configured
Before diving into customization, ensuring the Hyvä theme is appropriately installed and configured on your Magento 2 store is crucial. Verify that the theme is active and the necessary dependencies are in place. This step sets the foundation for seamless Hyvä Slider View Modal customization.
B. Reviewing the Structure of Hyvä Templates and Styles
Familiarize yourself with the structure of Hyvä templates and styles. Locate the files related to the Hyvä Slider View Modal to understand how the default slider is implemented. This knowledge will be essential for creating custom templates and stylesheets for our enhanced slider functionality.
C. Identifying the Location of the Default Hyvä Slider View Modal
Locate the default Hyvä Slider View Modal files within the Hyvä theme. Understanding the file structure and hierarchy will aid in creating a seamless integration of custom logic. The Hyvä Slider View Modal files are typically found in the theme's template and style directories.
Customizing the Slider View Modal
A. Creating a Custom Hyvä Slider Template
Develop a custom template for the Hyvä Slider View Modal to accommodate the desired modifications. This involves creating a new template file or extending the existing one to include our custom logic. Ensure that the new template integrates smoothly with the Hyvä theme structure.
B. Adding Custom Styles for the Slider
Enhance the visual appeal of the custom slider by introducing new styles. Modify or create CSS stylesheets to handle the slider's layout, transitions, and overall aesthetics. This step is crucial for achieving a cohesive and visually appealing design that aligns with the rest of the Hyvä theme.
C. Introducing HTML and CSS Modifications for Infinite and Auto Slide
Implement HTML and CSS modifications to introduce the infinite slide and auto slide functionalities. This involves integrating custom JavaScript logic directly into the HTML structure, ensuring the slider seamlessly loops through items and automatically transitions between slides. Avoiding third-party JS libraries emphasizes a lightweight and self-contained solution.
Implementing Infinite Slide Logic
A. Understanding the Concept of Infinite Slides
Explore the concept of infinite slides and why it benefits user experience. Infinite scrolling ensures a continuous and fluid content presentation, preventing the slider from reaching an endpoint. Implementing this logic requires careful consideration of transitions and the underlying structure of the slider.
B. Creating Custom Logic for Infinite Sliding Without Third-Party JS
Develop custom JavaScript logic to enable infinite sliding without relying on external libraries. This involves managing the state of the slider, dynamically adjusting positions, and ensuring a smooth transition between the last and first slides. By avoiding third-party JS, we maintain greater control over the customization and reduce dependencies.
C. Ensuring Smooth Transitions Between Slides
Fine-tune the transitions between slides to guarantee a seamless and visually pleasing experience for users. Adjust timing, easing functions, and other transition parameters to achieve a polished and professional look. Testing on various devices and screen sizes is essential to ensure consistent performance across different platforms.
Auto Slide Implementation
A. Explanation of Auto Slide Functionality
Delve into the concept of auto slide functionality and its importance in enhancing user engagement. Auto slide eliminates manual interaction, automatically transitioning between slides at predefined intervals. This feature is especially beneficial for capturing the user's attention and showcasing various content without user input.
B. Developing Custom Logic for Automatic Sliding
Implement custom JavaScript logic to enable the auto slide functionality without relying on third-party libraries. Define the timing and intervals for automatic transitions between slides. Ensure the logic is robust, flexible, and easily adjustable to accommodate different content types and durations.
C. Fine-Tuning Auto Slide Settings for Optimal User Experience
Fine-tune the auto slide settings to optimize the user experience. Consider factors such as slide duration, pause on hover, and the ability to navigate manually. Strike a balance between showcasing content and allowing users to interact with the slider at their own pace. Rigorous testing is essential to ensure the auto slide feature performs reliably across various scenarios.
Steps for creating infinite auto slide with custom JS
Here's the step by step process of creating a custom infinite auto slide using Hyvä slider view modal.
Step 1: Create your page layout
app/code/Navigate/Bannerslider/view/frontend/layout/cms_index_index.xml<?xml version="1.0"?>
<page xmlns:xsi="http://www.w3.org/2001/XMLSchema-instance" xsi:noNamespaceSchemaLocation="urn:magento:framework:View/Layout/etc/page_configuration.xsd">
<body>
<referenceContainer name="header.container">
<block class="Navigate\Bannerslider\Block\Bannerslider\Index" name="custom_slider" template="Navigate_Bannerslider::slider/slider.phtml" after="header-content"/>
</referenceContainer>
</body>
</page>Step 2: Create block class
app/code/Navigate/Bannerslider/Block/Bannerslider/Index.php<?php
namespace Navigate\Bannerslider\Block\Bannerslider;
use Magento\Framework\View\Element\Template;
use Navigate\Bannerslider\Model\ResourceModel\Bannerslider\Collection;
use Magento\Store\Model\StoreManagerInterface;
class Index extends \Magento\Framework\View\Element\Template
{
protected $sliderCollection;
protected $storeManagerInterface;
public function __construct(Template\Context $context, Collection $sliderCollection, StoreManagerInterface $storeManagerInterface, array $data = array())
{
$this->sliderCollection = $sliderCollection;
$this->storeManagerInterface = $storeManagerInterface;
parent::__construct($context, $data);
}
public function getSliderCollection()
{
return $this->sliderCollection->addFieldToFilter('status','Enabled')->setOrder('position', 'asc');
}
public function getMediaUrl()
{
return $this->storeManagerInterface->getStore()->getBaseUrl(\Magento\Framework\UrlInterface::URL_TYPE_MEDIA);
}
}Step 3: Create template file for set item to slider
app/code/Navigate/Bannerslider/view/frontend/templates/slider/slider.phtml<?php
declare(strict_types=1);
use Hyva\Theme\Model\ViewModelRegistry;
use Hyva\Theme\ViewModel\Slider;
use Magento\Framework\View\Element\Template;
/** @var ViewModelRegistry $viewModels */
/** @var Slider $sliderViewModel */
/** @var Template $block */
$sliderViewModel = $viewModels->require(Slider::class);
?>
<?php
$collection = $block->getSliderCollection();
$slidercount = $collection->count();
$mediaUrl = $block->getMediaUrl();
$sliderItems = [];
if($slidercount > 0) {
$i = 1;
foreach ($collection as $key => $slider) {
$sliderItems[$key]['slider_id'] = $i;
$sliderItems[$key]['image_url'] = $mediaUrl.$slider->getImagename();
$sliderItems[$key]['title'] = $slider->getTitle();
$sliderItems[$key]['url'] = ($slider->getUrlKey()) ? $slider->getUrlKey() : 'javascript:void(0)';
$i++;
}
}
?>
<?php if(count($sliderItems) > 0) { ?>
<div>
<?=
$sliderViewModel->getSliderForItems(
'Navigate_Bannerslider::slider/slider-item.phtml',
$sliderItems,
'Navigate_Bannerslider::slider/slider-php.phtml'
)->toHtml()
?>
</div>
<?php } ?>Step 4: Create template file for view item
app/code/Navigate/Bannerslider/view/frontend/templates/slider/slider-item.phtml<?php
declare(strict_types=1);
use Hyva\Theme\Model\ViewModelRegistry;
use Magento\Framework\Escaper;
use Magento\Framework\View\Element\Template;
/** @var Template $block */
/** @var Escaper $escaper */
/** @var ViewModelRegistry $viewModels */
$item = $block->getData('item');
?>
<a href="<?= $escaper->escapeUrl($item['url'])?>"
transition:enter="transition duration-9000" x-transition:enter-start="transform translate-x-full" x-transition:enter-end="transform translate-x-0" x-transition:leave="transition duration-9000" x-transition:leave-start="transform" x-transition:leave-end="transform -translate-x-full"
class="block w-full relative"
tabindex="-1"
target="_blank"
>
<img class="absolute h-full w-full" src="<?= $escaper->escapeHtmlAttr($item['image_url']) ?>"
alt="<?= $escaper->escapeHtmlAttr($item['title']) ?>"
title="<?= $escaper->escapeHtmlAttr($item['title']) ?>"
loading="lazy"
width="1200" height="400"
/>
</a>Step 5: Create template File for slider logic
app/code/Navigate/Bannerslider/view/frontend/templates/slider/slider-php.phtml<?php
declare(strict_types=1);
use Hyva\Theme\Model\ViewModelRegistry;
use Hyva\Theme\ViewModel\HeroiconsOutline;
use Magento\Framework\Escaper;
use Magento\Framework\View\Element\Template;
// phpcs:disable Generic.Files.LineLength.TooLong
/** @var Template $block */
/** @var Escaper $escaper */
/** @var ViewModelRegistry $viewModels */
/** @var HeroiconsOutline $heroicons */
$heroicons = $viewModels->require(HeroiconsOutline::class);
$items = $block->getItems() ?? [];
if (is_object($items) && $items instanceof Iterator) {
$items = iterator_to_array($items);
}
if (!$itemCount = count($items)) {
return '';
}
$sliderItemRenderer = $block->getChildBlock('slider.item.template');
$slider_id = array_column($items, 'slider_id');
?>
<div class="mb-3 mt-5" x-data="{ activeBannerSlide: 1, slides: <?php echo htmlspecialchars(json_encode($slider_id), ENT_QUOTES, 'UTF-8', true) ?>, loop() { setInterval(() => { this.activeBannerSlide = this.activeBannerSlide === <?= $itemCount ?> ? 1 : this.activeBannerSlide + 1 }, 10000) }, }" x-init="loop">
<div class="relative">
<!-- Slides -->
<?php foreach ($items as $item): ?>
<div class="relative flex shrink-0 w-full"
x-transition:enter="transition duration-10000"
x-transition:enter-start="transform translate-x-full"
x-transition:enter-end="transform translate-x-0"
x-transition:leave="transition duration-10000"
x-transition:leave-start="transform"
x-transition:leave-end="transform -translate-x-full"
:class="activeBannerSlide === <?= $item['slider_id'] ?> ? 'fixed' : 'hidden'"
x-cloak
>
<?= $sliderItemRenderer->setItem($item)->toHtml() ?>
</div>
<?php endforeach; ?>
<!-- Prev/Next arrow buttons -->
<div class="absolute top-1/2 -translate-y-1/2 md:flex md:justify-between md:w-full">
<button
aria-label="<?= $escaper->escapeHtml(__('Previous')) ?>"
tabindex="-1"
class="h-46px w-46px relative xl:right-5 right-4 border-black border text-gray-900 hover:text-white hover:bg-black rounded-full border-black bg-white"
x-on:click="activeBannerSlide = activeBannerSlide === 1 ? slides.length : activeBannerSlide - 1"
>
<?= $heroicons->chevronLeftHtml("w-5 h-5 my-0 mx-auto", 64, 64) ?>
</button>
<button
aria-label="<?= $escaper->escapeHtml(__('Next')) ?>"
tabindex="-1"
class="h-46px w-46px relative xl:left-5 left-2.5 border-black border text-gray-900 hover:text-white hover:bg-black rounded-full border-black bg-white"
x-on:click="activeBannerSlide = activeBannerSlide === slides.length ? 1 : activeBannerSlide + 1"
>
<?= $heroicons->chevronRightHtml("w-5 h-5 my-0 mx-auto", 64, 64) ?>
</button>
</div>
<!-- Indicator buttons -->
<div class="flex flex-center px-3 justify-center">
<template x-for="slide in slides" :key="slide">
<button class="rounded-pill b-thin mx-1 cursor-pointer"
:class="{'bg-color-success': activeBannerSlide === slide, '': activeBannerSlide !== slide }"
x-on:click="activeBannerSlide = slide">
<span class="shrink-0 block w-3 h-3 m-4 bg-black rounded-full shadow cursor-pointer bg-opacity-25" :class="{'bg-opacity-100': activeBannerSlide === slide, '': activeBannerSlide !== slide }" ></span>
</button>
</template>
</div>
</div>
</div>
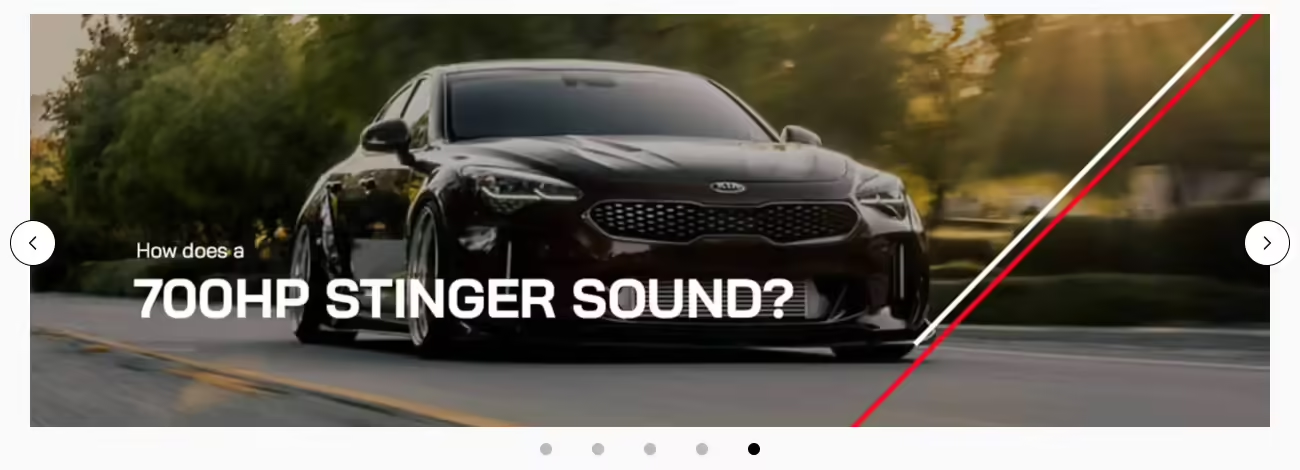
The result will be like this:
Testing and Debugging
A. Testing the Custom Slider on Different Devices and Browsers
Thoroughly test the custom slider on various devices, including desktops, tablets, and mobile phones, to ensure responsiveness and compatibility. Verify that the slider functions as expected across different browsers such as Chrome, Firefox, Safari, and Edge. Address any layout or functionality issues that may arise on specific platforms.
B. Addressing Potential Issues or Bugs
Identify and address any potential issues or bugs that may arise during testing. This includes inconsistencies in slide transitions, unexpected behaviour on certain devices, or performance issues. Debugging is crucial to ensure a seamless and error-free experience for users interacting with the custom Hyvä Slider View Modal.
C. Ensuring Responsiveness and Performance Optimization
Optimize the custom slider for responsiveness to guarantee a consistent user experience across a wide range of devices and screen sizes. Implement responsive design principles and techniques to dynamically adapt the slider's layout and functionality. Performance optimization, such as minimizing unnecessary script execution and optimizing image loading, should also be a focus to enhance overall page speed.
Boost User Engagement with the auto-slide feature
Following the process mentioned above will help you boost the Magento website. There are several benefits of incorporating an infinite auto-slide feature, such as increased user engagement, a more dynamic presentation of content, and improved visual appeal. These features contribute to a positive overall user experience, potentially leading to higher conversion rates. Even utilizing a Custom JS solution leads to fewer dependencies and increased performance. If you need assistance with infinite auto slides in the Hyvä theme or need help with Hyvä theme migration or implementations, contact our Hyvä experts.